
")
✨ A Northern French Tradition: A comforting, rustic dessert featuring a pillowy brioche crust filled with a rich, vanilla-infused custard.
The “Tarte au Libouli,” also known as Tarte à gros bords (Thick-Edged Tart) or Tarte au Papin, is a beloved specialty from the North of France (specifically the Boulonnais region). “Libouli” means “boiled milk” in the local dialect (ch’ti). Historically, the thick brioche edges were created to prevent the generous custard filling from spilling over during baking.
Unlike standard fruit tarts made with shortcrust pastry, this dessert uses a yeast-leavened dough, making it halfway between a cake and a pie. The result is a delightful contrast: a golden, fluffy brioche exterior holding a creamy, slightly wobbly vanilla center. It is a nostalgic “grandma’s recipe” often served at village fairs (ducasses), best enjoyed cold to let the flavors settle.
🥣 INGREDIENTS
Here is the table of ingredients (For a 24 cm / 9.5-inch tart):
| Component (Section) | Quantity | Notes |
| 🍞 For the Brioche Dough | ||
| Flour | 250g | High gluten (Gruau) or Bread Flour |
| Milk | 10 cl | (100g / 100ml), lukewarm |
| Melted Butter | 60g | Cooled |
| Granulated Sugar | 20g | |
| Whole Egg | 1 | |
| Yeast | 4g dry / 10g fresh | Author used 10g fresh |
| Salt | 1 pinch | |
| 🥛 For the Pastry Cream (Filling) | ||
| Whole Milk | 60 cl | (600ml / approx. 2.5 cups) |
| Whole Eggs | 3 | |
| Cornstarch (Maïzena) | 50g | |
| Granulated Sugar | 90g | |
| Vanilla Bean | 1 pod | Seeds scraped |
| ✨ For the Finish | ||
| Egg Yolk + Milk/Cream | 1 yolk + splash | For the egg wash (dorure) |
| Neutral Glaze | Optional | For shine |
👩🍳 PREPARATION STEPS (Step-by-Step)
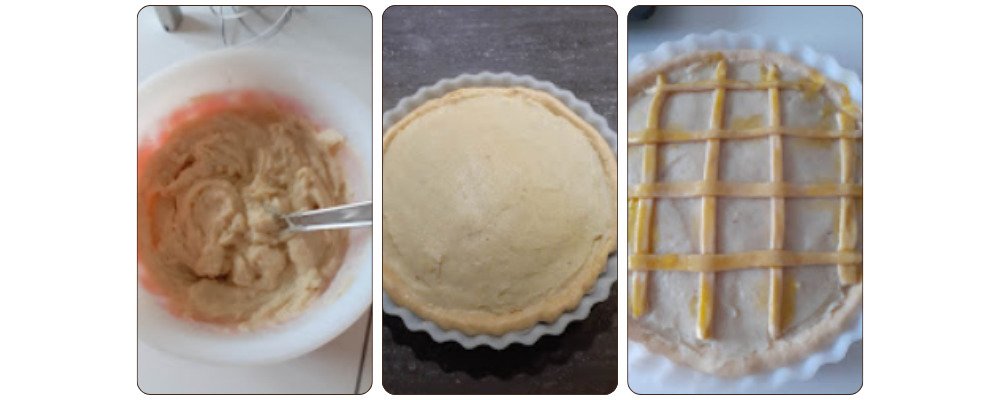
The steps are presented in the exact sequential order as the original source to ensure the text matches your images.
Step 1: The Brioche Dough
-
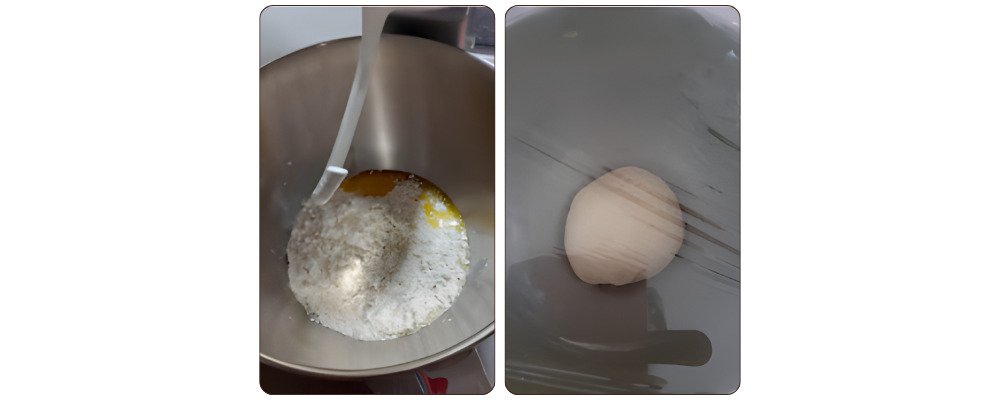
In the bowl of your stand mixer (or a large bowl if kneading by hand), add the ingredients in this specific order: salt, sugar, flour.
-
Dissolve the yeast in the slightly lukewarm milk and pour it in, followed by the cooled melted butter and the egg.
-
Warning: Ensure the yeast does not come into direct contact with the salt before mixing.
-
-
Knead at Speed 2 (Low) for 2 minutes, then increase to Medium Speed for 10 to 15 minutes.
-
The dough is ready when it pulls away from the sides of the bowl and is no longer sticky.
-
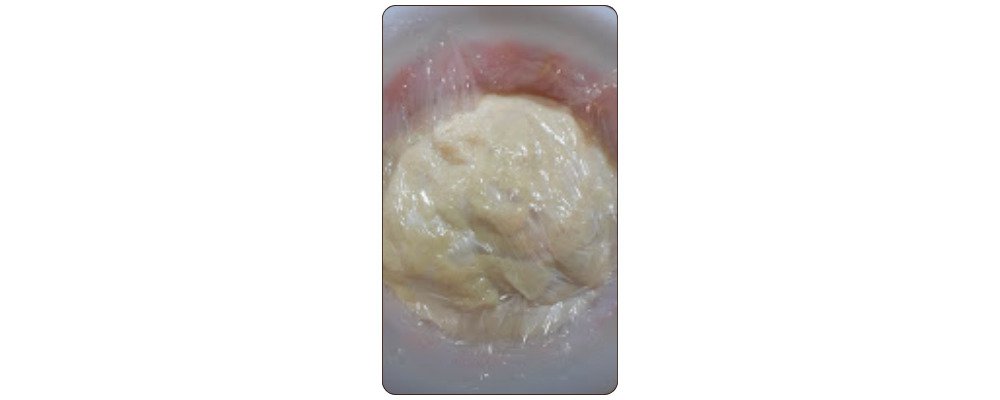
Form a ball, cover it, and let it rest (proof) for 1h to 1h30 at room temperature. It must double in volume.
Step 2: The Pastry Cream
Prepare this while the dough is rising.
-
Pour the milk, half of the sugar, and the vanilla seeds (and pod) into a saucepan. Bring to a boil, then turn off the heat.
-
In a mixing bowl, whisk the remaining sugar with the 3 whole eggs.
-
Add the sifted cornstarch to the egg mixture and whisk well.
-
Pour the hot milk over the egg mixture while whisking constantly, then pour everything back into the saucepan.
-
Cook over low to medium heat, stirring constantly.
-
Crucial: Do not use high heat, or the eggs will scramble (coagulate).
-
-
Once the cream thickens, continue cooking for 2 minutes.
-
Chef’s Note: Many people stop as soon as it thickens, but this is a mistake! You must cook it for 1-2 extra minutes to remove the floury taste of the starch.
-
-
Transfer the cream to a bowl and cover with plastic wrap touching the surface (contact wrap) to prevent a skin from forming. Let it cool completely.
 Step 3: Assembly (Montage)
-
Punch down (degas) the risen dough with your fist. Fold it over itself a few times to reform a ball.
-
Reserve a small piece of dough to make the lattice strips (cross-pattern) for decoration later.
-
Lightly flour your work surface and roll out the main dough ball.
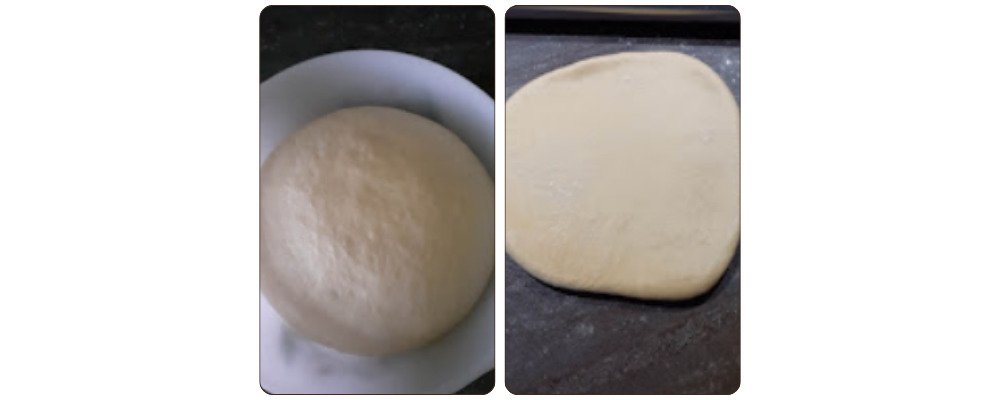
-
Preheat your oven to 180°C (350°F).
-
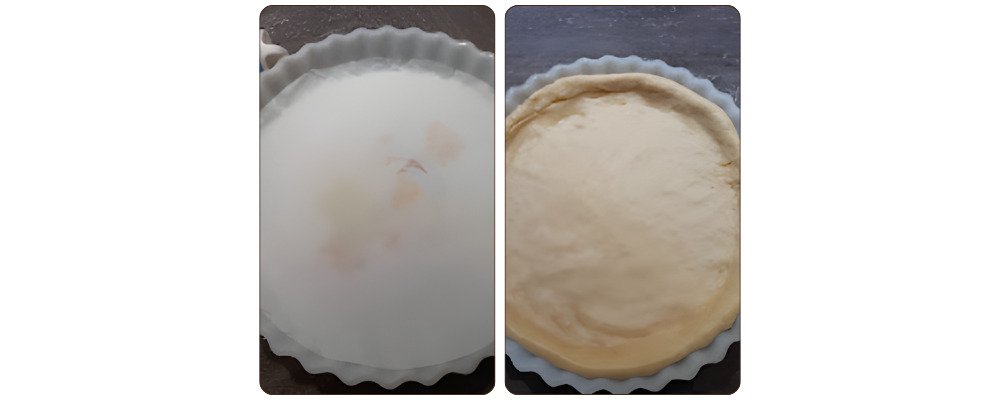
Grease a pie dish (tourtière) or line it with parchment paper (as the author did).
-
Place the dough into the dish and fold the edges over slightly to form a thick border all around.
Step 4: Filling & Baking
-
Take your cooled pastry cream and whisk it vigorously to loosen it up and make it smooth again.
-
Spread the cream evenly over the bottom of the dough using an offset spatula.
-
Roll out the reserved small piece of dough, cut into strips, and place them over the cream to create a lattice (cross) pattern.
-
Brush the dough edges and the strips with the egg wash (egg yolk + milk/cream).
-
Bake for 35 to 40 minutes (depending on your oven) until the brioche is golden brown and the cream has set (it may develop dark spots, which is traditional).
-
Optional: Apply a little neutral glaze (nappage) for shine.
Chef’s Guide & Conclusion
You have just recreated a piece of Northern French heritage. The Tarte au Libouli is the definition of rustic comfort food. Unlike Parisian pastries that demand millimeter precision, this tart loves a bit of imperfection—the “burnt” skin on the custard (caused by the high heat acting on the milk proteins) is actually a hallmark of authenticity, not a mistake!
Texture Notes:
The magic here is the interplay between the bread-like chew of the brioche and the smooth, dense custard. Because we use whole eggs in the cream (instead of just yolks), the filling sets firmly, allowing for clean slices.
Pro Tip for the Dough:
If your kitchen is cold, you can create a “proofing box” by placing a bowl of hot water in your oven (turned off) and placing the dough inside. The humidity and gentle warmth will help the brioche rise perfectly.
Serving:
While tempting to eat warm, this tart is traditionally eaten cold. Letting it rest in the fridge allows the custard to firm up completely and the flavors of the vanilla and brioche to meld. Serve it with a strong cup of coffee or cider for the full Ch’ti experience.
")

")
