

Introduction: The Gold Standard of Comfort Baking
There are thousands of chocolate cake recipes in the world, but few hold the legendary status of the “Hershey’s” recipe. It is the definition of a timeless classic—unpretentious, incredibly reliable, and deeply nostalgic. For many bakers, this was the very first scratch-made cake they ever baked, often found on the back of the cocoa tin, and it remains the benchmark against which all other chocolate cakes are measured.
What makes this specific recipe by Austin Carter so special is its texture. Unlike butter-based cakes that can sometimes be dense or dry out quickly, this oil and buttermilk-based sponge is scientifically designed to stay moist for days. The crumb is impossibly soft, dark, and tender. The magic trick here is the addition of boiling liquid (water or coffee) at the very end of the mixing process. This technique, known as “blooming” the cocoa, dissolves the sugar completely and releases the full aromatic potential of the chocolate, resulting in a batter that is thin but bakes up into a rich, fudge-like masterpiece.
This is not a cake that requires fancy equipment or advanced pastry skills. It is a “one-bowl” wonder that delivers high-reward results for minimal effort. Whether you are baking for a casual Sunday family dinner, a birthday celebration, or simply because you crave the comfort of homemade chocolate, this cake is your steadfast companion. It feels steady from start to finish, filling your kitchen with the warm, intoxicating scent of baking cocoa.
🥣 INGREDIENTS
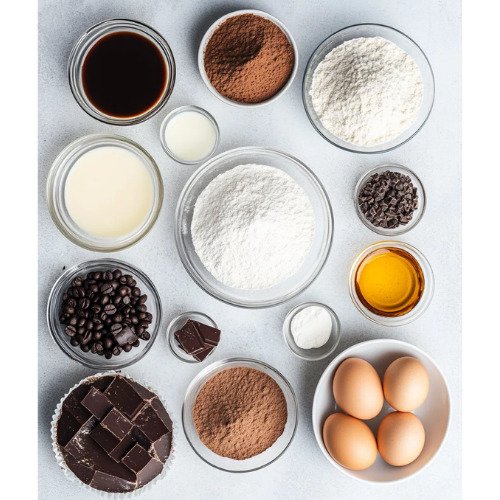 Here is the table of ingredients (Yields: 16 Servings / Two 8-inch round cakes):
| Component (Section) | Quantity | Notes |
| 🍰 The Chocolate Cake | ||
| Granulated Sugar | 2 cups | |
| All-Purpose Flour | 1 ¾ cup + 2 tbsp | Measure accurately |
| Unsweetened Cocoa Powder | 3/4 cup | Hershey’s or preferred brand |
| Baking Powder | 1 ½ tsp | |
| Baking Soda | 1 ½ tsp | Essential for the acid in buttermilk |
| Salt | 1 tsp | Balances sweetness |
| Large Eggs | 2 | Room temperature |
| Buttermilk | 1 cup | Shake well before measuring |
| Vegetable Oil | 1/2 cup | Or Canola oil |
| Vanilla Extract | 2 tsp | |
| Boiling Water (or Hot Coffee) | 1 cup | Crucial step |
| 🧁 The Chocolate Frosting | ||
| Butter | 1/2 cup | Melted |
| Unsweetened Cocoa Powder | 2/3 cup | |
| Powdered Sugar | 3 cups | Sifted to remove lumps |
| Milk | 1/3 cup | Adjust for consistency |
| Vanilla Extract | 1 tsp |
👩🍳 PREPARATION STEPS (Step-by-Step)
The steps are presented in the exact sequential order to match the logical flow of the original recipe.
Step 1: Prep and Preheat
-
Preheat your oven to 350°F (175°C).
-
Prepare two 8-inch round baking pans. Line the bottoms with parchment paper and lightly spray the sides with non-stick cooking spray. Set them aside.
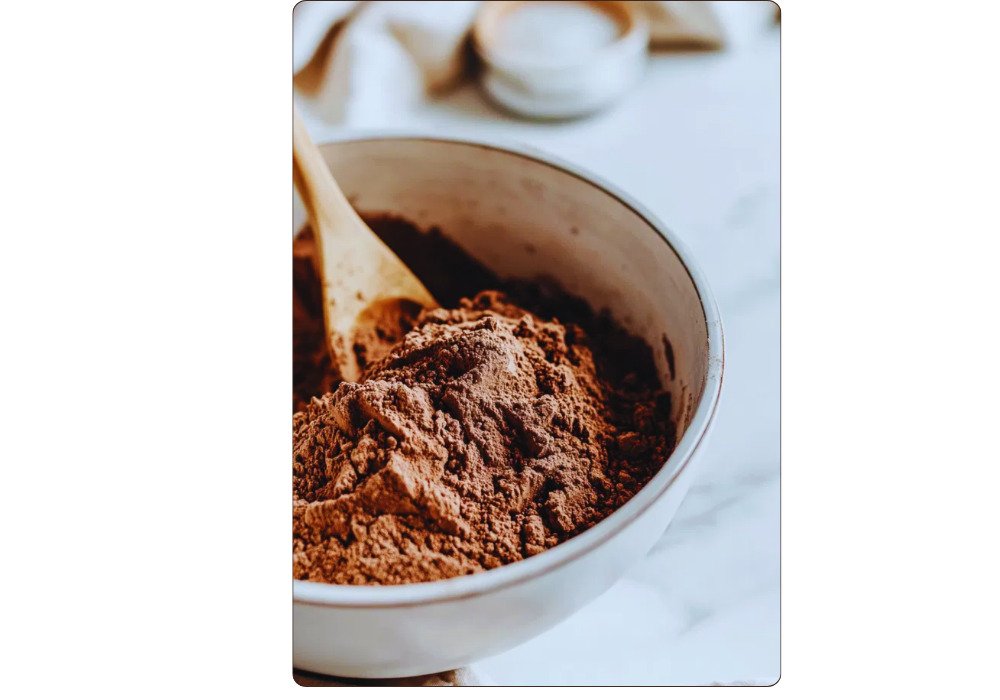 Step 2: Mix Dry Ingredients
-
In a large mixing bowl, combine the sugar, all-purpose flour, cocoa powder, baking powder, baking soda, and salt.
-
Whisk these dry ingredients together until they are evenly distributed and no lumps of cocoa remain.
 Step 3: Add Wet Ingredients
-
Add the eggs, buttermilk, vegetable oil, and vanilla extract to the dry mixture.
-
Beat with an electric mixer (or whisk vigorously by hand) for about 2 minutes. The batter should be smooth and well-combined.
Step 4: The “Liquid Gold” Step
-
Carefully stir in the boiling water (or hot coffee).
-
Note: The batter will become very thin and watery. Do not panic! This is exactly how it should look. Do not add more flour.
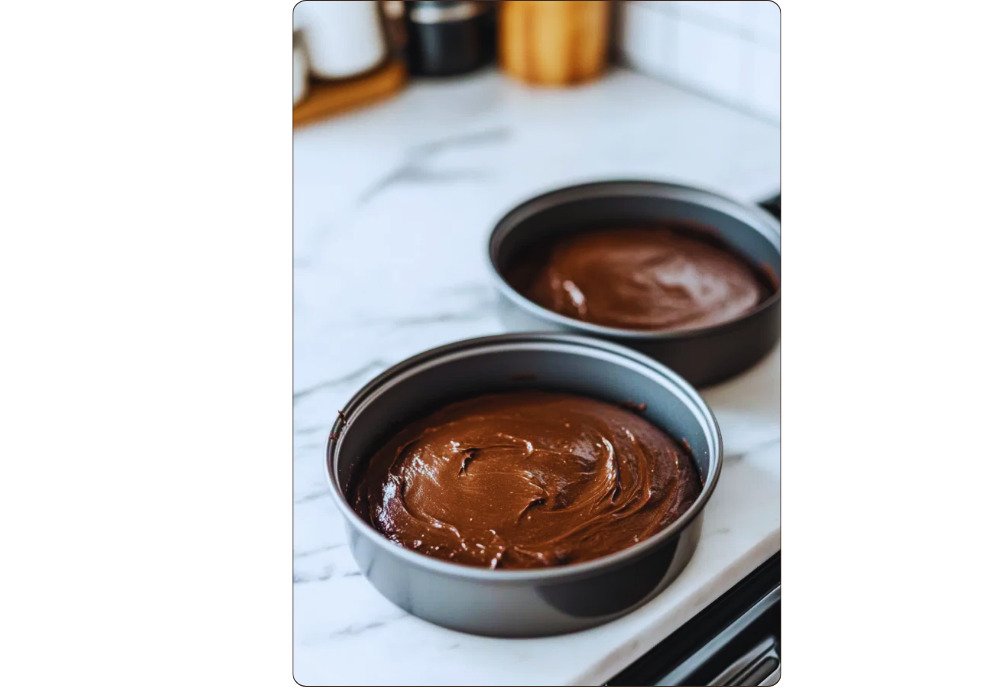 Step 5: Baking
-
Pour the thin batter evenly into the two prepared cake pans.
-
Bake for 30 to 35 minutes.
-
Doneness Test: Insert a wooden toothpick into the center of the cake. It should come out clean or with just a few moist crumbs attached.
-
Remove from the oven and let cool in the pans for about 10 minutes, then transfer to a wire cooling rack to cool completely.
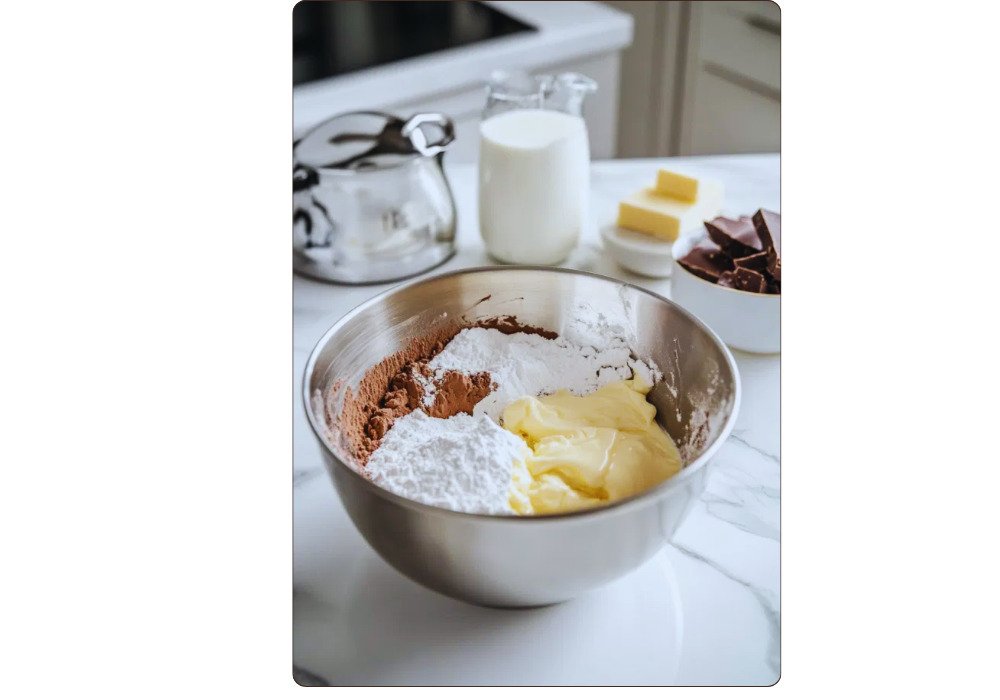
Step 6: Prepare the Frosting
-
In a medium bowl, combine the melted butter and cocoa powder. Stir until it forms a thick paste.
-
Alternately add the powdered sugar and milk, beating to spreading consistency.
-
Stir in the vanilla extract.
-
Beat the frosting for several minutes until it is creamy, smooth, and fluffy.
Step 7: Assembly
-
Place the first cooled cake layer on your serving tray.
-
Spread a generous amount of frosting over the top.
-
Place the second cake layer on top.
-
Frost the top and sides of the entire cake with the remaining frosting.
-
Slice and serve!
Chef’s Guide & Conclusion
Mastering the “Hershey’s” Method:
You have just baked a piece of culinary history. This cake is renowned for being foolproof, but understanding the science behind why it works will make you a better baker. Here are the professional insights into this specific recipe:
1. The Boiling Water Phenomenon:
The most distinctive step in this recipe is adding boiling water at the end. Many novice bakers hesitate here, fearing they will cook the eggs or ruin the batter. The hot liquid performs two critical functions:
-
Blooming the Cocoa: Heat releases the oils in the cocoa powder, intensifying the chocolate flavor so it tastes deeper and less “dusty.”
-
Dissolving the Sugar: The heat ensures the sugar is completely dissolved before baking, which contributes to that incredibly soft, moist crumb that stays fresh for days. Pro-Tip: Use hot coffee instead of water. You won’t taste the coffee, but it will make the chocolate taste more like chocolate.
2. The Role of Buttermilk:
This recipe relies on the acidity of buttermilk to react with the baking soda. This reaction creates carbon dioxide bubbles, giving the cake its lift and fluffiness. If you don’t have buttermilk, you can make a substitute by adding 1 tablespoon of white vinegar or lemon juice to a cup of regular milk and letting it sit for 5 minutes.
3. Handling the Batter:
The batter for this cake is notoriously runny—almost like chocolate milk. This is often the point where bakers panic and add more flour. Resist the urge. The high liquid content allows the flour to hydrate fully without developing tough gluten strands. This is why the cake is so tender. If you add more flour, you will end up with a dry, bread-like texture.
4. Storage and Freshness:
Because this cake uses oil instead of butter in the sponge, it retains moisture exceptionally well. It can be stored at room temperature in a cake dome for up to 3 days without drying out. In fact, many find it tastes even better the next day as the flavors meld.
5. The Frosting:
The frosting recipe provided is a classic “American Buttercream” with a cocoa twist. Using melted butter instead of softened butter gives it a fudge-like consistency that sets beautifully. If you find it too sweet, add a pinch of salt to the frosting to cut through the sugar.
Enjoy this reliable, comforting classic. It is the kind of cake that turns a bad day around and makes a celebration feel truly complete.
(Would you like me to create a shopping list specifically organized by grocery aisle for this recipe?)


